Thinking About a New Asphalt Driveway?
So, you're staring at that cracked, faded concrete or gravel patch and thinking, 'Time for asphalt.' Smart move. Asphalt's tough, looks sharp, and actually handles our Phoenix heat pretty well – when it's put down right, that is. But before you grab a shovel or start Googling 'asphalt DIY kits,' let's chat about what's really involved. As a local contractor, I see plenty of folks wondering what they can tackle themselves and when they absolutely need to call in someone like me. Here's the real scoop.
Before the Shovels Hit the Dirt: Planning Your Project
This part? You can do a lot of the heavy lifting here, and honestly, it's super important. Seriously, don't skip it. First off, figure out exactly what you're paving. Is it a brand new driveway? A small pathway? Just extending an existing one? The size really makes a difference.
- Measure it out: Grab a tape measure and get your dimensions. Length, width. This gives you a rough idea of how much material you'll need, which helps with budgeting.
- Check for utilities: You absolutely, positively have to know what's buried underground. Gas lines, water pipes, electrical conduits, irrigation. Call 811 before you dig. It's free, it's the law, and it saves you a massive headache (or a potential disaster). Imagine hitting a main water line in August – no thanks.
- Drainage: Think about where water goes right now. When it rains in Phoenix, it often pours, doesn't it? You definitely don't want water pooling on your new asphalt, or worse, running into your garage or washing away your landscaping. A good asphalt surface needs a slight slope so water can drain properly. DIYers often miss this, and it turns into a huge problem.
- Permits: Depending on the size and where your property is, you might need a permit from the city or county. A quick call to your local planning department will clear this up. Don't just assume you're in the clear.
During the Project: Where DIY Ends and Pro Begins
Alright, you've got your plan. Now, what can you actually do yourself? And what should you definitely leave to the pros?
What You CAN Do (If You're Handy and Have Time):
- Site Prep (Minor): For a really small patch, like a narrow walkway or a tiny repair, you might be able to clear some debris, remove loose gravel, and even do a little digging. But I mean really small stuff here.
- Edging/Borders: If you want a specific border, maybe pavers or bricks, around your asphalt, you can often put those in yourself before the asphalt goes down. This helps define the area and can look quite sharp.
- Cleanup: After the pros finish up, you can certainly handle the final site cleanup.
What You REALLY Should Leave to the Pros:
This is where the rubber meets the road, literally. Laying asphalt isn't like pouring a concrete slab. It's a specialized job that takes heavy equipment, specific materials, and a whole lot of know-how. This isn't a weekend warrior project for anything bigger than a tiny patch.
- Excavation and Grading: This is critical. You need to dig down to a stable sub-base, get rid of any organic material, and then compact the soil. In places like the North Valley, where we often run into caliche, this can be a real pain. Then, you've got to grade it perfectly to make sure water drains right. This means using heavy machinery (skid steers, excavators) and precise laser levels. Mess this up, and your asphalt will crack, sink, or hold water.
- Base Material Installation: After grading, a layer of aggregate base (like ABC gravel) needs to go down, spread evenly, and get compacted to specific densities. This is your driveway's foundation. Skimp here, and your asphalt won't last.
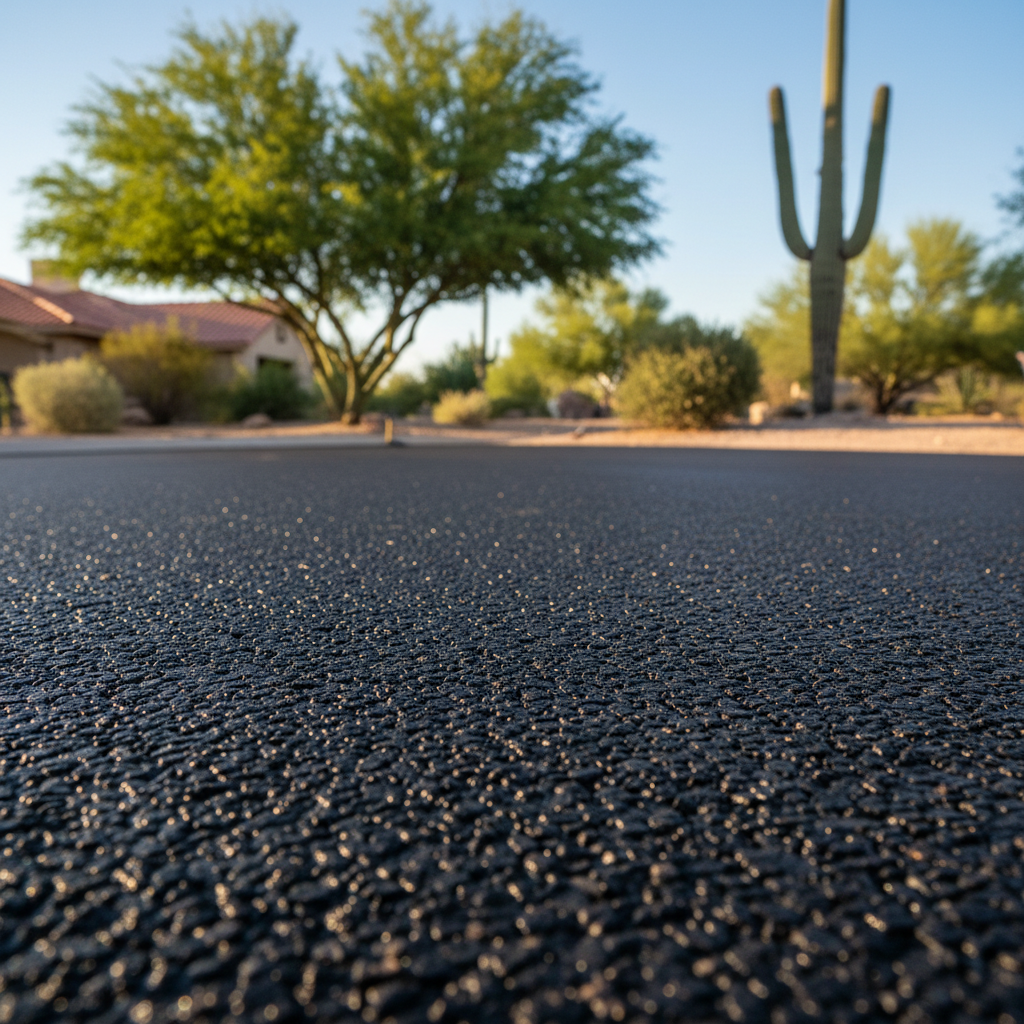
- Asphalt Application: This is the big one. Asphalt comes hot, usually around 300 degrees Fahrenheit. It needs to be hauled, spread evenly with special paving machines, and then compacted right away with heavy rollers. It cools fast, especially in our dry air, so you have a very tight window to work. Getting a smooth, consistent surface with proper compaction is both an art and a science. Without the right equipment and experience, you'll end up with an uneven, weak, and short-lived surface.
- Repairs (Beyond Surface Cracks): If you've got serious potholes, alligator cracking, or spots where the asphalt has completely failed, it usually points to a sub-base issue or poor original installation. Just patching the surface won't fix the root problem. That needs a professional assessment and repair.
Look, I own a small business, Peak Asphalt Co., and I'm all for saving money when you can. But when it comes to the actual paving, you'll save more money and headaches in the long run by hiring a reputable contractor. We've got the gear, the crew, and the experience to do it right the first time.
After the Project: Maintenance You Can Do
Once your beautiful new asphalt is down, it's not a 'set it and forget it' kind of deal, especially with our intense Arizona sun. Good news is, you can handle a lot of the maintenance yourself.
- Keep it Clean: Sweep off dirt, leaves, and debris regularly. This stops organic matter from breaking down on the surface and causing trouble.
- Sealcoating: This makes a huge difference for asphalt longevity. Sealcoating protects the asphalt from UV rays, water getting in, and oil spills. You can buy sealcoat at hardware stores and put it on yourself with a squeegee or roller. It's a messy job, sure, but totally doable for a DIYer. I usually suggest doing it every 2-3 years, depending on how much traffic it gets and how much sun it sees.
- Crack Filling: Small cracks will pop up over time. Don't let them get big. Clean out the crack, then fill it with an asphalt crack filler you can grab from any home improvement store. This keeps water from seeping into the base and causing bigger problems.
- Address Spills Immediately: Oil, gas, and other chemicals can break down asphalt. Clean them up as soon as you can. Kitty litter works wonders for soaking up oil.
So, there you have it. Plan smart, know your limits, and take care of your investment. Your asphalt driveway will thank you for it, and you'll steer clear of costly mistakes down the road.